DIY Acrylic Tray Table
/
Ya'll, I've been slacking. Admittedly. I was trying to stay on my at LEAST once/week schedule, but last week through me for a loop. Because adulthood. And full time job-hood. And ladytime-hood. Anyway, today I'm sharing a super simple DIY that I did a very long time ago but haven't had the opportunity to share yet. I bought all of the supplies months ago with the intention of gifting it to a friend for her birthday. Her birthday was in January. In two days, it'll be April. Judge me.
I really loved this lucite/acrylic side table from CB2. But for $80 + shipping - nahhhh.
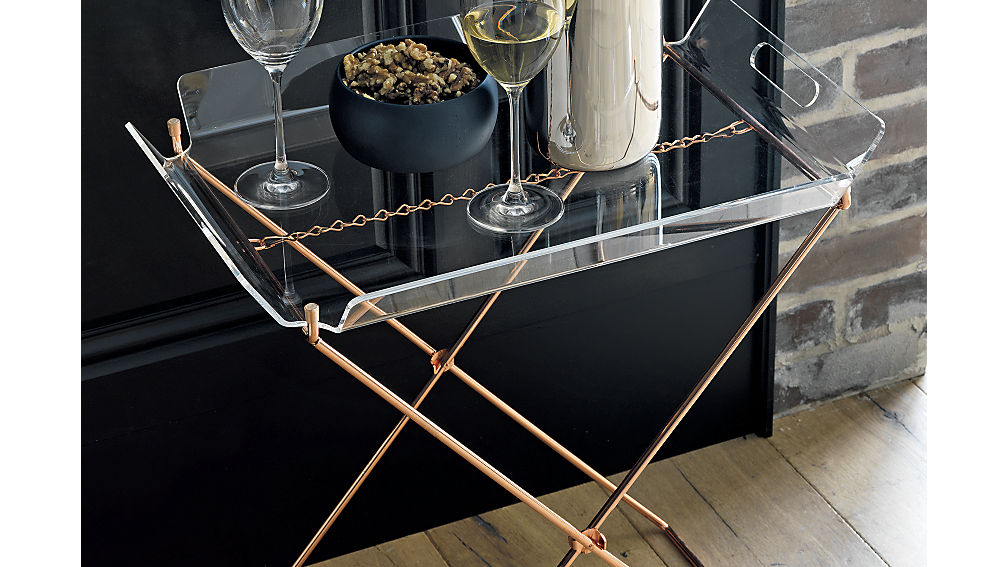
CB2 - Acrylic Tray Table - $79.95
This project simply calls for a cheap Ikea laundry basket, a picture frame, and some basic decorative hardware from Home Depot (and some heavy duty glue). No really, dassit.

Here's the rundown.
You'll need:
- IKEA JÅLL Laundry Bag with Stand - $5.99
- 16 x 20 clear acrylic box frame - I got mine from Michael's (using a 40% off coupon), but you can shop another option here
- 4 Gold Hardware Corners - shop them here or you can find them at your local hardware store
- Gold (or the color of your choice) Spray Paint
- E6000 or Hot Glue
The step-by-step
- Detach the laundry bag from the frame of the stand
- Spray paint the frame
- While drying, use your glue to fix the decorative corners to the frame
- Once the stand is dry, attach the acrylic frame to the stand. The frame should keep the stand from folding once secured tightly.
- Voila!
This can be used as a side table or even a drink stand of sorts. If you wanted to go a step further, you could also secure hardware handles to the frame to give it another look.


xo,
Aquia