DIY "Marble" Tray
/Happy New Year (I know, I suck)! I wish I had some really fabulous excuse for why we are 19 days in and I haven't posted -- like I've been jet setting across the globe, backpacking in South America, or chillin' in the Caribbean -- but I've got nothing...except a promise to do better. Let's just talk about this dedication really quick though... Because I already blogged this once, but then my computer froze right before I was about to publish & save and everything fell into the Internet's black hole. FML. I bet I'll be "saving" every 2 minutes from here on out.
I'm really excited about this project. It was somewhat easy, and really pretty. I say somewhat because it could have been a lot simpler...but ever since purchasing my own (as in mine not to be shared with my husband) drill, I've been trying to drill the shit out of everything... messing up a few walls along the way. That said, keep in mind that a drill for this project is optional -- unless you're like me and eager to drill and don't have the patience for drying glue.

I typically hate rose gold (sue me) and coppery things, but how cute are these copper "feet?" I thought it added a nice contrast. This tray can be used for anything really. A perfume tray, general decor, serving tray, etc. For now, mine is just sitting on a bookshelf in my master bedroom, but will likely move it to my office once that is slightly more organized.
Here's what you'll need:

- Marble contact paper (I just purchased another roll here on Amazon. I know everyone and their mom likely uses the Amazon app to purchase things on the fly, but just in case you and your mom don't, you can use code AQUIA651N to save $5 on your first in-app purchase -- so basically, a roll of contact paper will cost you $2!)
- A piece of wood - I purchased the 10x12" Woodpile brand from Hobby Lobby (don't forget to use their always faithful 40% off coupon). You can always go bigger or smaller depending on your preference.
- Drawer pulls - I purchased mine from Home Depot for about $2 each. (They didn't have any gold ones that didn't look like something out of someone's grandmother's bathroom, so I had to spray mine)
- Four 1/2 in. Copper Caps - 69 cents each at Home Depot (in the plumbing section).
- Glue (E6000 or hot glue).
- Drill + screwdriver (optional).
Let's get started:
- Cut a piece of contact paper big enough to wrap the wood (it doesn't have to completely cover the bottom. I only had one piece left and it left a tiny gap underneath but who cares...no one sees it).
- Remove the backing and place the wood in the center of the paper (adhesive side up). This gets a little tricky because you want to ensure there are no bubbles in the paper when you apply it, so flip it around and smooth it out (you might have to use a credit card).
- Flip it back over (sticky side up) and using scissors, cut a diagonal line at each corner (this makes it easier to wrap).
- Fold the first side to the center and smooth out. Repeat for all four corners. Be sure to pay attention to the corners so that they are covered and the adhesive sticks.
5. Once the board is wrapped, decide (if you haven't already) if you're going to go the glue or drill route. If you plan to drill, be sure to measure the spacing between the handles so they're even and equal distance from the edges. Then you'll need to use your best judgement and pencil mark where your holes will go (this was the hard part for me. I messed up a couple times and had to re-drill and pretty much force the screw in). Once the holes are drilled, secure the handles using the provided screws.

6. If you plan to glue, simply measure how you want to layout the handles and glue them in place. Be sure they are completely dry before moving on the the next step.
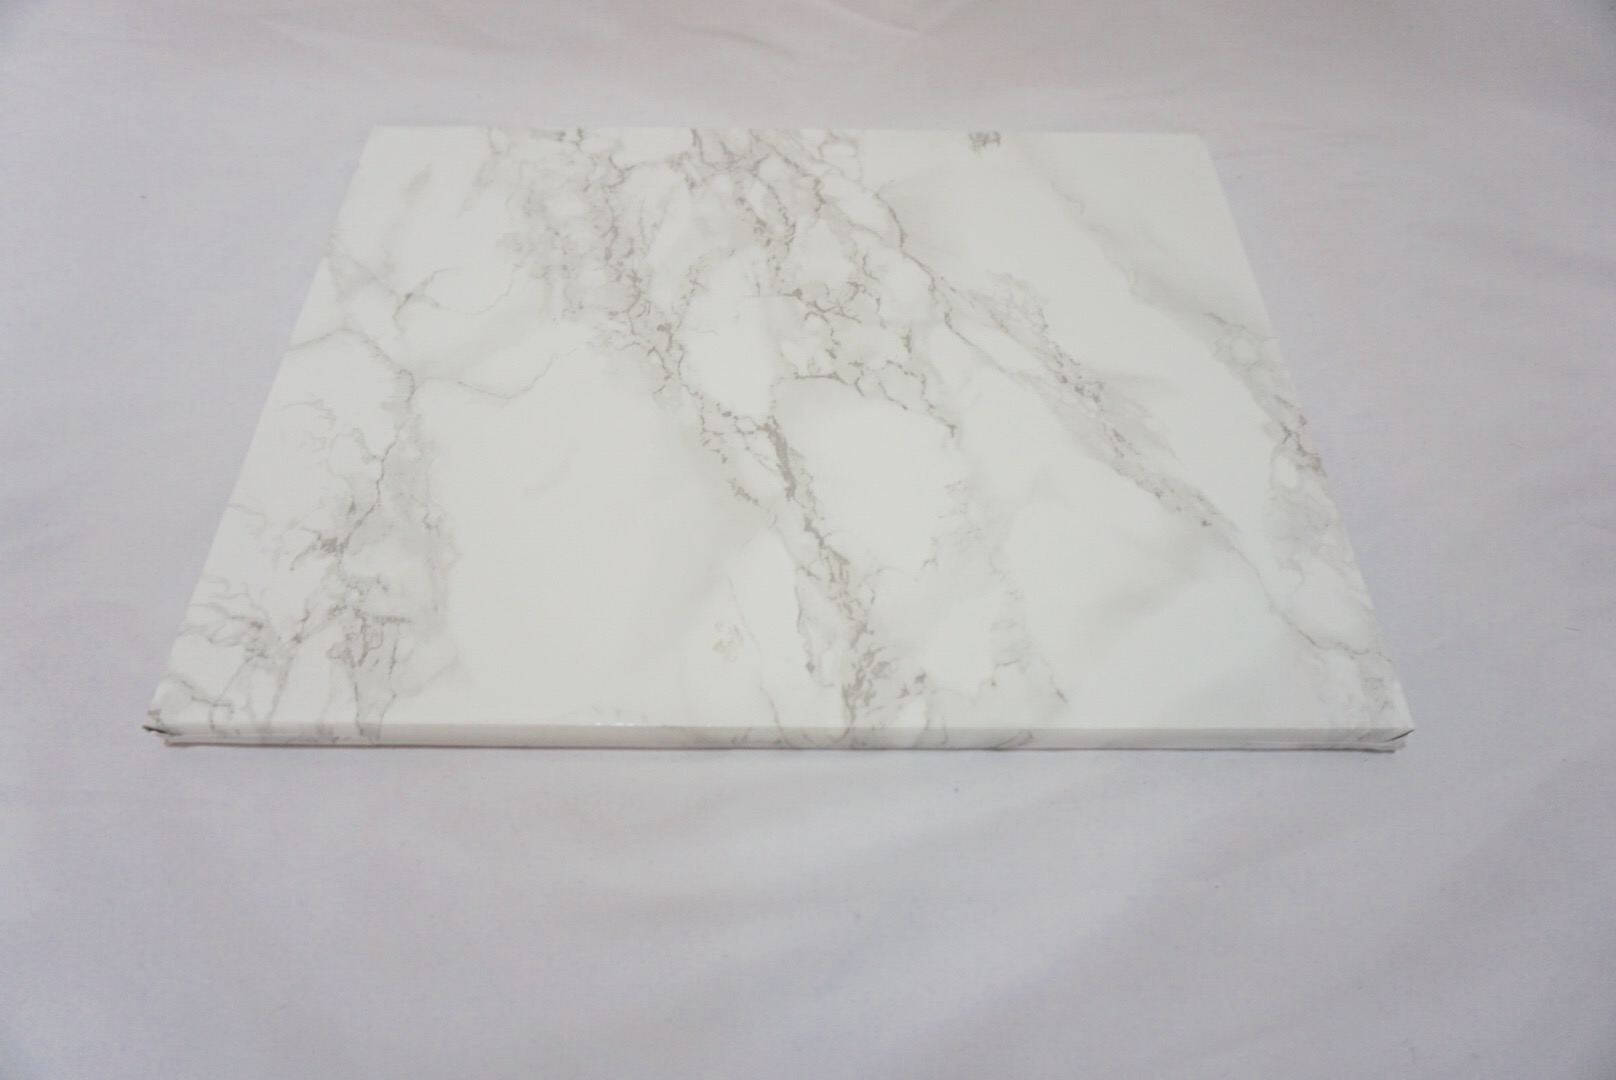
7. Once the handles are secure, flip over the tray and glue a copper plug at each corner. Allow to dry. And voila!

I'm still kind of impressed by this. It turned out really nice and I'm already thinking about making a bigger one.


Definitely share any pictures if you decide to make one! Enjoy.
xo,
Aquia