DIY Faux Fur Stool

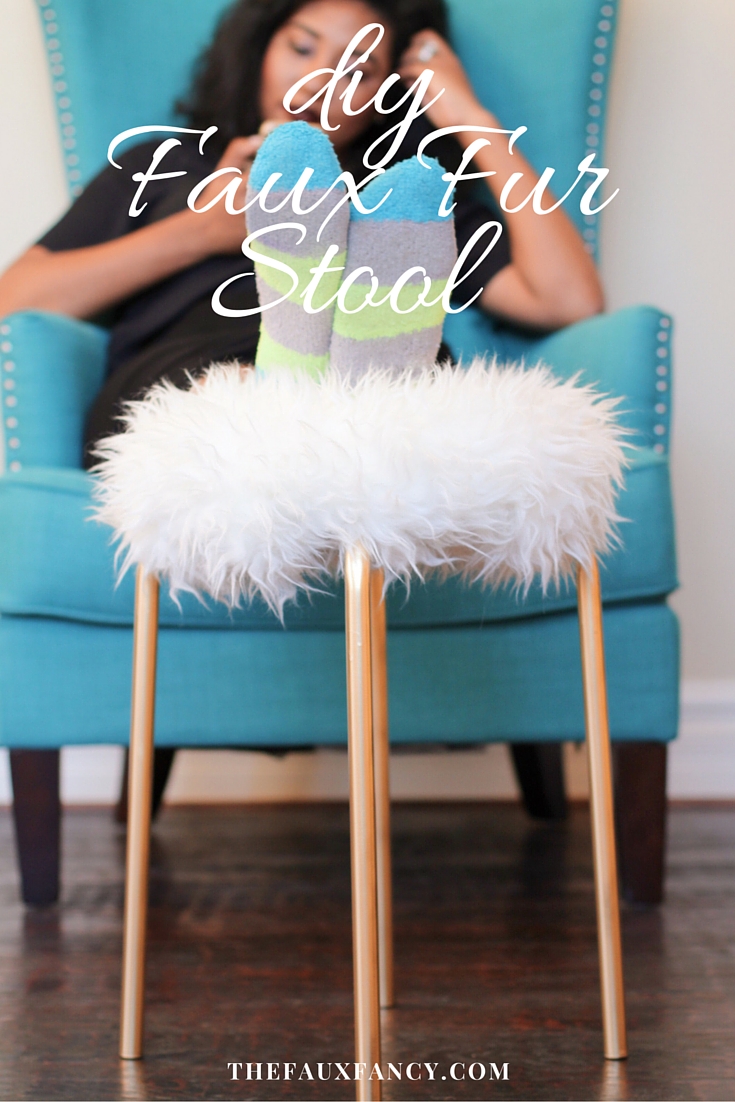
Another day, another DIY. I've been wanting a furry stool since the land before time, but the way my bank account is set up... yeah, I had no choice but to DIY. I surprised myself with how easy this was. If we're not counting the items I already had on hand, it probably cost me a whopping $10. 

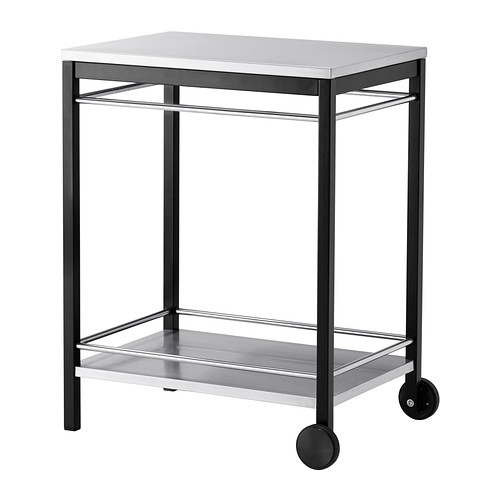
The stool is from IKEA and it was $4 (*Google's to confirm*)... $4.99. I live a whole 8 minutes from IKEA (which is very dangerous), so I went to find this stool in white, confirmed it was in stock, get there only to find out it wasn't. So I opted for black. Which is fine, but white is just easier to spray paint. 

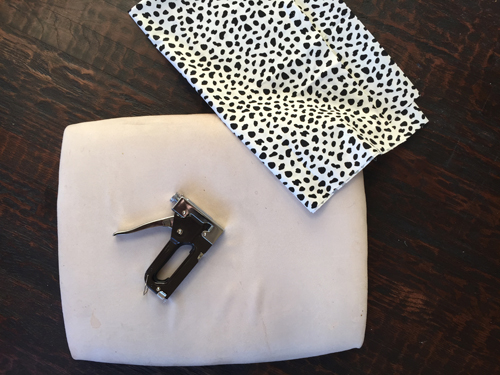
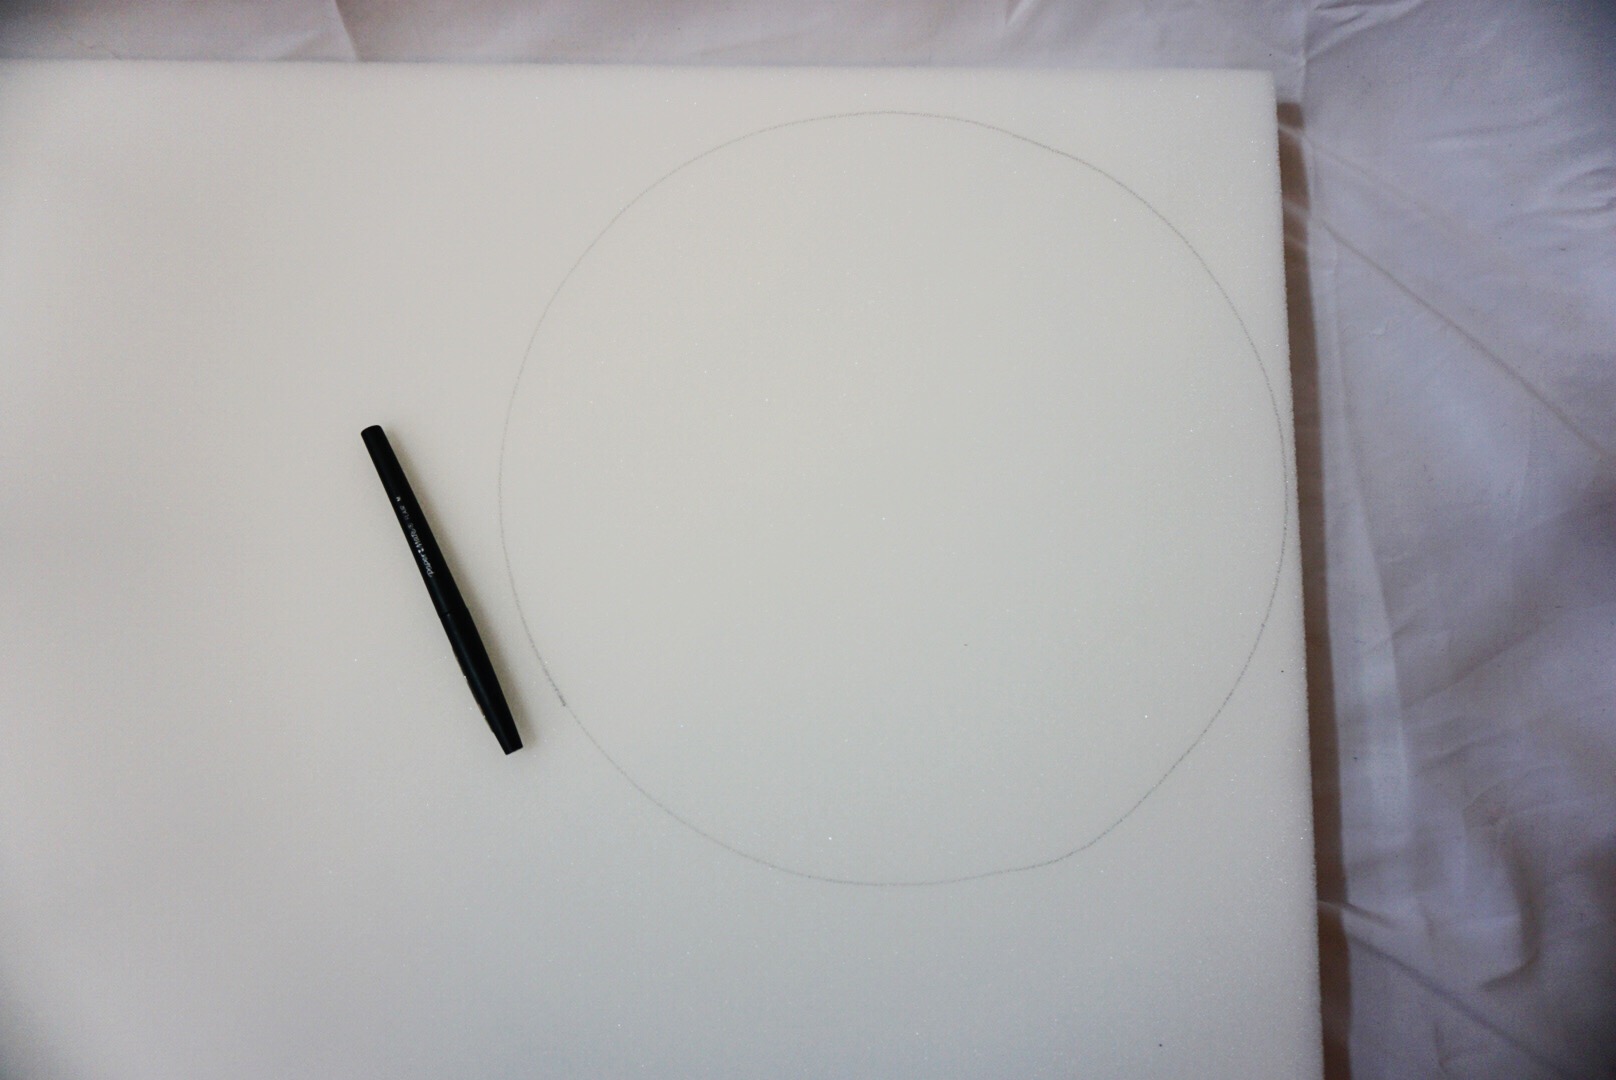
Because the stool is flat, I knew I wanted a bit of a cushion, so I went to Joann's to get some upholstery foam. Those were literally the only two things I purchased for this project. I had some faux fur on hand that I purchased from Joann's a while back, but it wasn't as furry as I would've liked, so I ended up using my beloved faux sheep skin rug from IKEA. I didn't really think twice given it's only $12.99 in the event I reeeally want to replace it. Other than that, all that was needed was gold spray paint. Now let's get to it. 

To recap, here's what you need: 

  1. IKEA TEJN Faux Sheepskin Rug (here)
  2. IKEA MARIUS Stool (here)
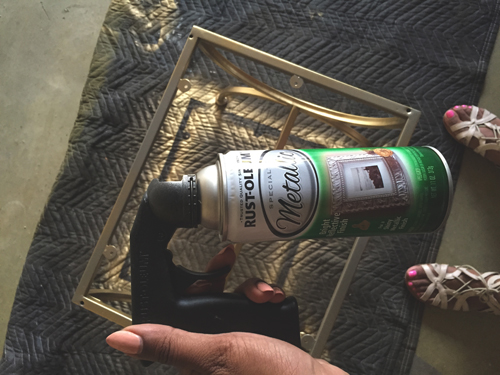
  3. Gold Spray Paint
  4. High Density Chair Pad Foam (here)
  5. Heavy-Duty Stapler 
  6. X-acto Knife/Kitchen Knife

Here's how you make it: 

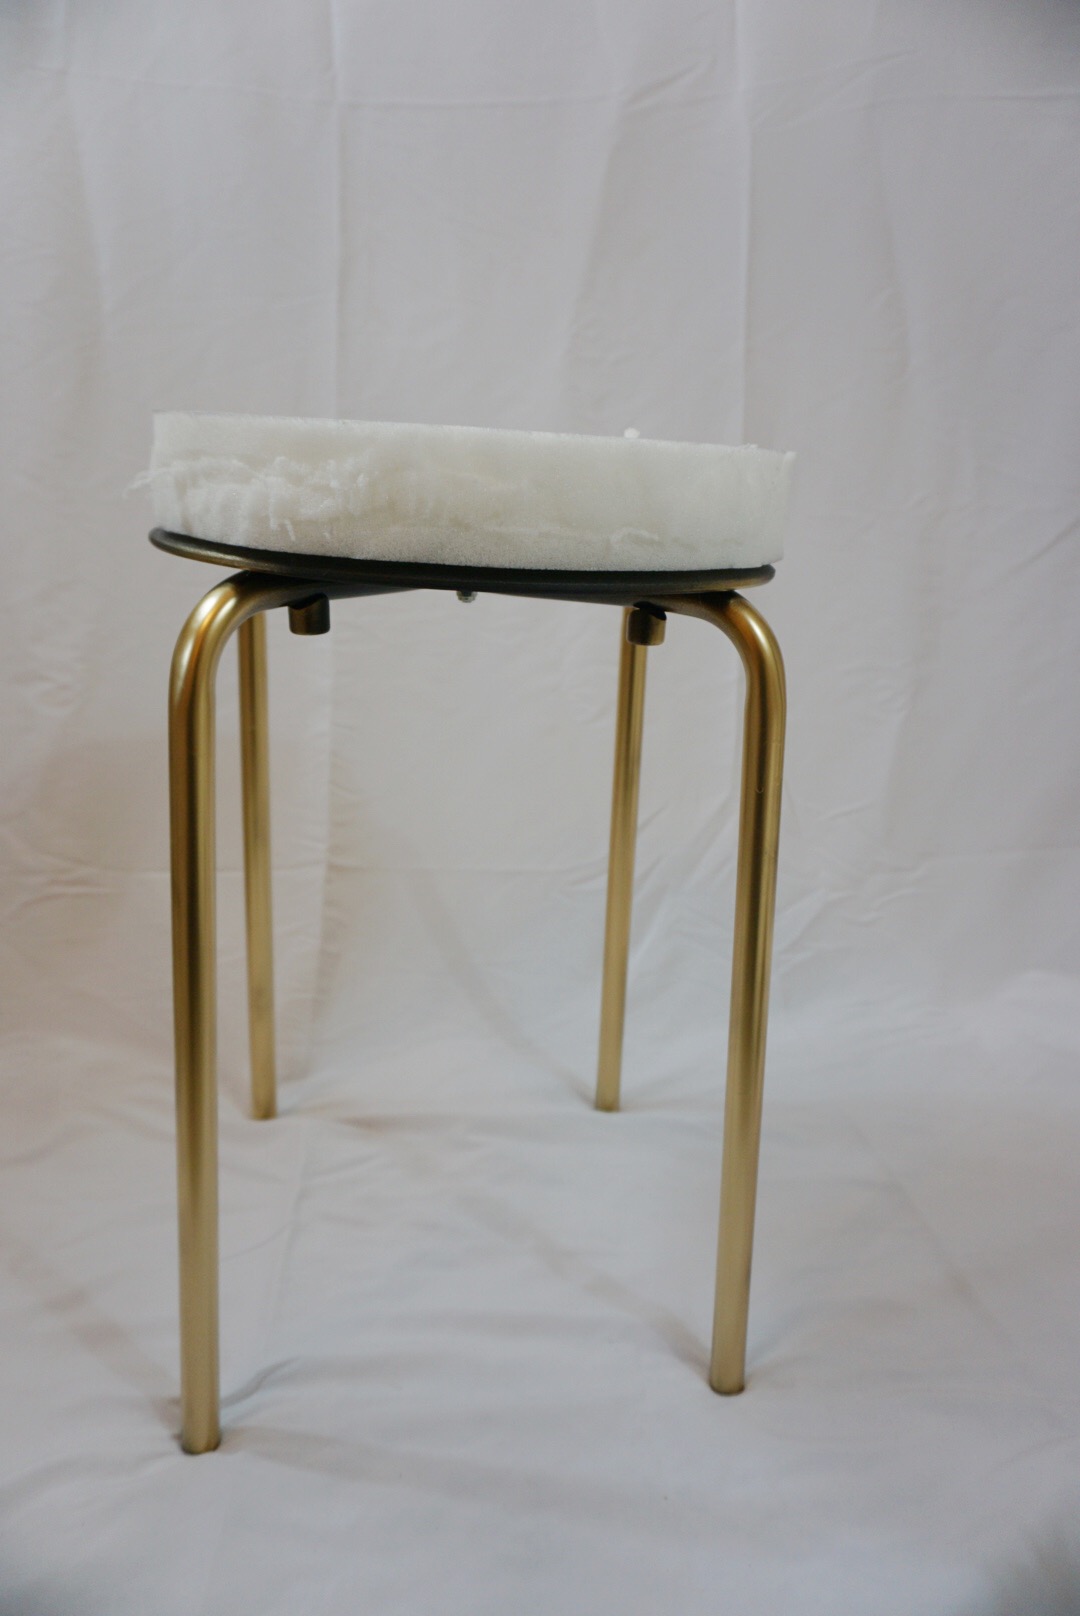
  1. Use the top of the stool as a stencil and trace the circle on the foam
  2. Using an X-acto knife (or kitchen knife), cut out the circle 
  3. Assemble the stool according to the instructions
  4. Spray paint the legs (if you choose, of course)
  5. Place the circular foam on top of the stool and place the rug on top 
  6. Flip over, and begin stapling the rug to the bottom of the stool (surprisingly, this works rather easily)
  7. Trim off the excess fur 

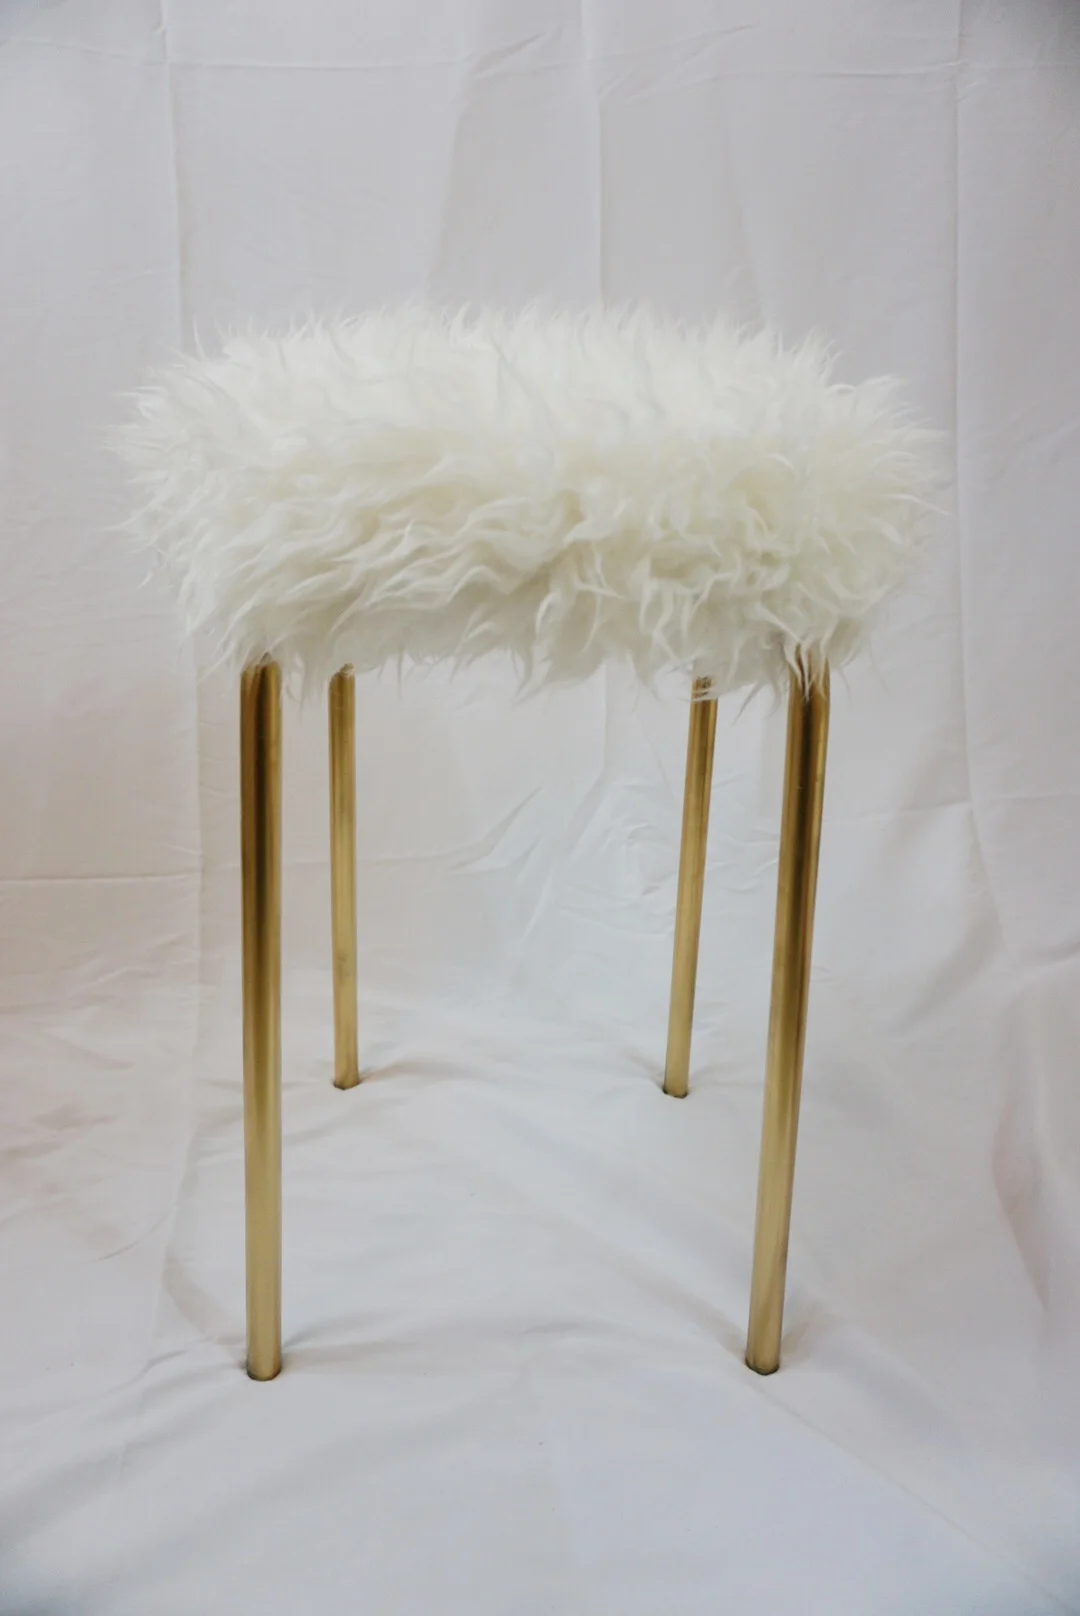
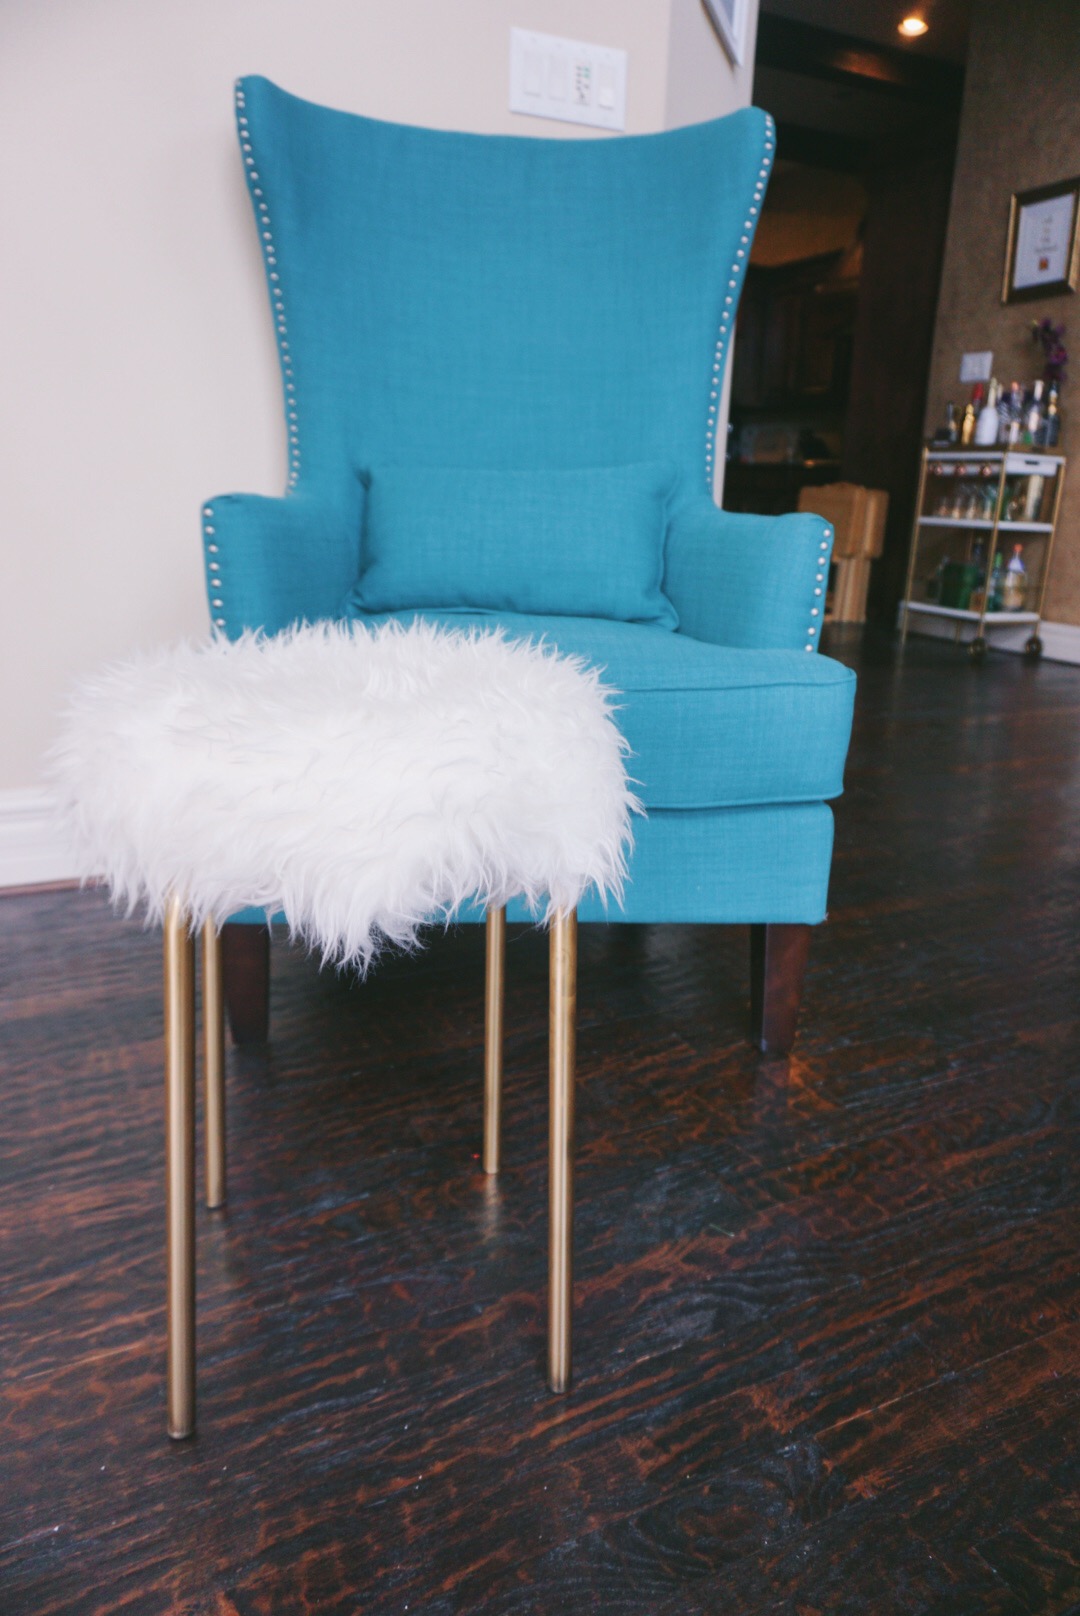
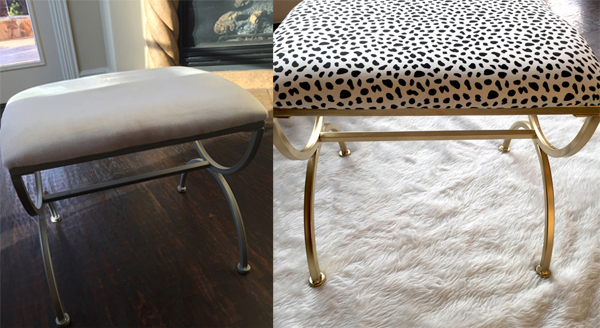
Isn't she lovely? :) 

Enjoy! 

xo, 

Aquia 

DIY "Marble" Tray

Happy New Year (I know, I suck)! I wish I had some really fabulous excuse for why we are 19 days in and I haven't posted -- like I've been jet setting across the globe, backpacking in South America, or chillin' in the Caribbean -- but I've got nothing...except a promise to do better. Let's just talk about this dedication really quick though... Because I already blogged this once, but then my computer froze right before I was about to publish & save and everything fell into the Internet's black hole. FML. I bet I'll be "saving" every 2 minutes from here on out. 

I'm really excited about this project. It was somewhat easy, and really pretty. I say somewhat because it could have been a lot simpler...but ever since purchasing my own (as in mine not to be shared with my husband) drill, I've been trying to drill the shit out of everything... messing up a few walls along the way. That said, keep in mind that a drill for this project is optional -- unless you're like me and eager to drill and don't have the patience for drying glue. 

I typically hate rose gold (sue me) and coppery things, but how cute are these copper "feet?" I thought it added a nice contrast. This tray can be used for anything really. A perfume tray, general decor, serving tray, etc. For now, mine is just sitting on a bookshelf in my master bedroom, but will likely move it to my office once that is slightly more organized. 

Here's what you'll need: 

  1. Marble contact paper (I just purchased another roll here on Amazon. I know everyone and their mom likely uses the Amazon app to purchase things on the fly, but just in case you and your mom don't, you can use code AQUIA651N to save $5 on your first in-app purchase -- so basically, a roll of contact paper will cost you $2!)
  2. A piece of wood - I purchased the 10x12" Woodpile brand from Hobby Lobby (don't forget to use their always faithful 40% off coupon). You can always go bigger or smaller depending on your preference. 
  3. Drawer pulls - I purchased mine from Home Depot for about $2 each. (They didn't have any gold ones that didn't look like something out of someone's grandmother's bathroom, so I had to spray mine)
  4. Four 1/2 in. Copper Caps - 69 cents each at Home Depot (in the plumbing section).
  5. Glue (E6000 or hot glue).
  6. Drill + screwdriver (optional).

Let's get started:

  1. Cut a piece of contact paper big enough to wrap the wood (it doesn't have to completely cover the bottom. I only had one piece left and it left a tiny gap underneath but who cares...no one sees it). 
  2. Remove the backing and place the wood in the center of the paper (adhesive side up). This gets a little tricky because you want to ensure there are no bubbles in the paper when you apply it, so flip it around and smooth it out (you might have to use a credit card). 
  3. Flip it back over (sticky side up) and using scissors, cut a diagonal line at each corner (this makes it easier to wrap). 
  4. Fold the first side to the center and smooth out. Repeat for all four corners. Be sure to pay attention to the corners so that they are covered and the adhesive sticks.  

5. Once the board is wrapped, decide (if you haven't already) if you're going to go the glue or drill route. If you plan to drill, be sure to measure the spacing between the handles so they're even and equal distance from the edges. Then you'll need to use your best judgement and pencil mark where your holes will go (this was the hard part for me. I messed up a couple times and had to re-drill and pretty much force the screw in). Once the holes are drilled, secure the handles using the provided screws. 

6. If you plan to glue, simply measure how you want to layout the handles and glue them in place. Be sure they are completely dry before moving on the the next step. 

7. Once the handles are secure, flip over the tray and glue a copper plug at each corner. Allow to dry. And voila! 

I'm still kind of impressed by this. It turned out really nice and I'm already thinking about making a bigger one. 

Definitely share any pictures if you decide to make one! Enjoy. 

xo, 

Aquia

DIY Faux Fur Purse Chain

I've been searching for a DIY for one of these purse/key chains ever since I saw them come on the scene. Mainly because I've seen the prices range from $14-$50, and let's just say I refuse. Then I saw Alyssa Forever's post about her DIY furry slides and when I realized she used feather boas, I jetted over to my second home...Hobby Lobby. 

This little project took less than an hour to complete...with the trip to Hobby Lobby included and was so easy, my 17 year old niece made a couple for herself and her friend. They're really cute and fun and make great gifts. 

Here's What You Need: 

  • I got the feather boas from Hobby Lobby for $4.99 each. They had a variety of colors. Be sure you get the fine feathers as they do have actual feather boas as well. 
  • 3 inch styrofoam balls. I also picked up 2.5in ones to make a variety of sizes. 
  • Key rings
  • Chain (I had some in my craft closet, but also purchased one in the jewelry section of Hobby Lobby)
  • Sewing pins (I got yellow because I'm cheap and they were the cheapest option. But I would advise getting white or a more neutral color.)
  • Scissors

Here's How:

  1. Cut off the random rope at the end of the boa
  2. Stick a sewing pin at the very end, ensuring you get it in the center so it holds
  3. Stick the pin into the center of the ball 
  4. Begin wrapping the boa in a circle, pinning every half inch or so
  5. Once you cover one half of the ball, cut the extra and repeat the process for the other half (I've found this method to be more sturdy than trying to wrap in a circular motion)
  6. Once the entire ball is covered, take you chain (taking out links if you need to) and attached one end to the key ring
  7. Take the other end and put a pin through the hole (you may have to tighten it with a pair of pliers so it wraps tightly around the pin)
  8. Voila!

Enjoy!

xo, 

Aquia


DIY Bar Cart

I'm all about the bar cart movement. That is, putting my drinking habit on a pretty display. While the bottles may hardly ever stay full, I think it makes for a good decor piece. I'm pretty sure the least expensive bar carts are sold at Target -- but while hundreds of dollars less than those you might find West Elm or Pottery Barn, $130 was still just a little more than I was willing to pay for something I can't consume (jk, I promise I'm not an alcoholic). 

I'm pretty sure I got the inspiration from Pinterest (though the source has been lost in a sea of pins) to use an IKEA utility cart and turn it into what had the potential to be a bar cart. Now, IKEA has several utility carts that could be easily transformed into a nice bar cart -- like this one:

KLASEN Serving Cart - $109

KLASEN Serving Cart - $109

But for the sake of this DIY and my piggy bank, I decided not to spend more than $40. So I went with the BYGEL Utility Cart for $29.99. 

The process for this was simple. Gold spray paint, duh. And because it's IKEA and you obviously have to assemble everything, I painted the metal frame, hooks and wheels before assembling. Then put it together and voila! 

Xo, 

Aquia 

Photos by: Nolita Nouveau

DIY Vanity Stool Makeover

I'm not sure why it took me this long to do this. Well, I suppose because there's so much remodeling I want to do in our bathroom, that having a pretty vanity stool was the least of my concern? Let's just go with that. 

If you know me, you know I have to fight my urge to paint every corner in my house gold, so it's no surprise that this piece would be gold. I've also been mildly obsessed with the Thaibaut Tanzania wallpaper I've seen all over Pinterest, so I was so excited to walk into my local Hobby Lobby and find fabric in an identical print. 

Anyway, this project (like most of the ones I commit myself to) took little time. I was able to cook dinner between the paint drying and finish it in under an hour. 

I purchased my stool over two years ago, and as you can see, it was practically begging me for a refresh. 

                                                                      &nbs…

                                                                                                  Two year old stool from Bed Bath & Beyond. 

All you need is spray paint in the color of your choice (gold, obvi), a heavy-duty staple gun, fabric and scissors. 

I started by disassembling the stool which required all of unscrewing about 6 screws. 

Then I sprayed the base. It's true, Rustoleum has the best gold spray paint I've used...and I've used more gold spray paint than I'd like to admit. 

Once the base was dry, it was time to reupholster the seat. This was probably the most time consuming part because the corners were a problem child. I had to play with them a while before they looked presentable. For the rest, I just pulled tightly and stapled - while paying attention to the holes so I was still able to screw it back onto the legs. 

image6.JPG

Once that was done, I simply screwed the seat back onto the base and voila, magic. 

I'm slightly obsessed now. I've been searching Craigslist like a crazy person trying to find pieces I can reupholster. 

Printables

Every now and again my co-worker and I will spend a few unproductive hours of our days looking at cute prints online. Between Etsy and Pinterest I've found so many that I love. I can't, however, bring myself to pay the usually high asking price for a simple print made with font that I can download online. So, of course I make my own. Photoshop and free font downloads are my friend. 

This is one of my favorites. I love me a good Old Fashioned and knew this could hang marvelously  over my bar cart. But at $72? Yeah, no.

So with Photoshop and 5 minutes to spare, I made my own, printed it and hung it in a frame I'd painted gold a while back and had nothing to put in. 

Anyway, I have a few that I've made (some that I've printed, others that I haven't) that I can share! All you have to do is download and print and frame. Most are 8x10 so if you have a frame smaller than that, you'll have to resize. Which one is your favorite? 


Click to download. 

Click to download. 

Enjoy!

xo, 

Aquia

DIY Marble MacBook Cover

I'm obsessed with marble contact paper. I learned of its existence through my daily blog stalking for DIY projects.  

Something you should know: I don't do super time-consuming, need-more-than-4-materials, build-my-own-house DIYs. Ain't nobody got time for that. So I was really excited to see that this required all of 3 things (including the laptop) and a 10 minute attention span (cause that's all I got). 

image.jpg

Yep, that's it. I didn't document the rest of the steps in images because I had to be super focused and stuff (because knives), but it's so simple that you don't really need pictures to explain. 

DIY Marble Macbook Cover

  1. Dust off your computer (if it's anything like mine) with a soft cloth
  2. Lay your computer top down on the inside of the contact paper (non-marble side)
  3. Leave about half an inch (if that) around the perimeter and begin cutting through the paper with the Xacto knife (the paper even has nice ruler lines that make it easy
  4. Remove contact paper backing and (starting from the front) carefully place the paper at the edge of the computer, slowly pressing it down as you work from front to back (or back to front - whichever tickles your fancy)
  5. Press firmly with your finger or a credit card to smooth out bubbles
  6. Cut off excess paper around the edges
  7. Open your laptop (make sure it's on) so the Apple illuminates and trace it with the Xacto knife (yes, this was the most difficult part and where I almost quit and said 'eff this' - so, good luck with your patience)
  8. Remove the paper from the Apple and voila! 
image.jpg